Quick Triage & Baseline
The Symptom: The output differs from what you expected. Compare a printer-built-in test with this browser print before choosing the next check.
Immediate Branch Logic:
Start with the relevant free test and check your settings. A print pattern helps compare the symptom but cannot identify a failed part. Use manufacturer guidance for your printer type and model.
⚠ STOP LINE: Follow the cleaning limits and waiting periods in the official instructions for your exact inkjet model. Repeated cleaning uses ink. Do not use inkjet cleaning advice for a laser printer.
Fast Resolution Checklist
Perform these immediate actions (30-60 seconds) before escalating to a hardware repair.
- Step 1: Power cycle the printer completely
- Step 2: Remove and re-seat all ink/toner cartridges
- Step 3: Check internal path for torn paper scraps
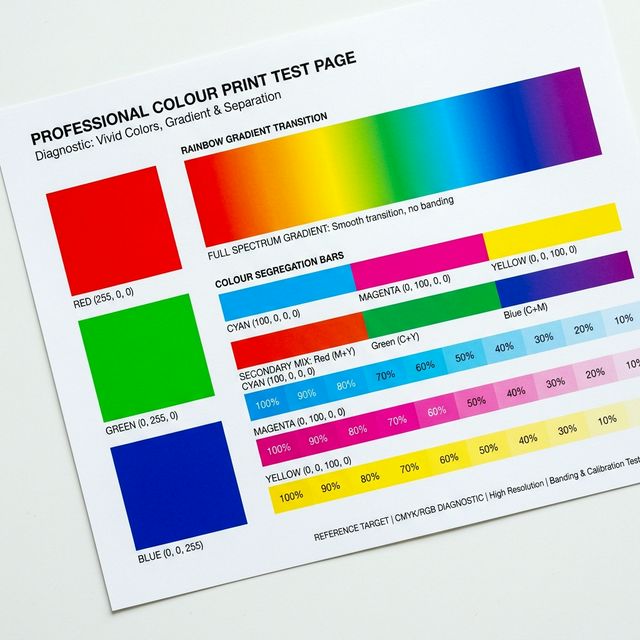
- Step 4: Run a Universal Diagnostic Test Page
- Step 5: Compare printer-built-in and application output without assuming a failed part
Likely Causes
1. Obstructed paper path. 2. Consumable exhaustion. 3. Misconfigured driver settings.
The Physical Mechanism
The symptom can involve settings, paper, supplies or the printer mechanism. The useful next check depends on printer type and the built-in test result.
Decision Rule (If X, Then Y)
If the printer-built-in test also looks wrong, investigate the printer settings, paper, supply indications and model-specific maintenance. If it looks normal, compare the application and driver settings. Neither result proves or excludes a failed component.
Common Wrong Assumptions
Users usually assume the printer is “broken” rather than realizing the printer driver is simply instructed to print poorly.
Limits & Escalation
If the problem persists after the checks recommended for your exact model, contact manufacturer support. Persistent poor output does not identify a failed board, fuser or printhead, and does not by itself justify buying parts. Consult your brand’s support path.
Prevention & Early Warning
Run a diagnostic test page weekly to maintain a baseline of hardware health.